DIY tutorial 1: How to renew an old lamp in the simplest way possible!
It’s been some time I was think about putting online some of the everyday life things I do in parallel of my main activity, because it may interest people. I usually think that if I have problem to resolve, small or big, it’s sure that other people face the same issues.
That’s why I’ll begin my very first post of DIY tutorial: It’s about renewing an old lamp or temporarily try a new fabric/or other material like paper for example and see if you like it or not before deciding to replace the old one definitely.
I live in a furnished rent appartement and some of the objects in the house don’t correspond to a style I like and I don’t want to live with things I see everyday and I don’t like. BUT, as I don’t want to invest in new objects, I prefer to modificative them to my own preferences, always with the possibility to leave them at their first state when I’ll have to quit the house. I hope I’m clear enough at my explanations! As you understand, English isn’t a mother language for me. I’ll do my best do explain the procedure in a clear way. Please don’t hesitate to contact me for any clarification or question. I’d be very happy to help!
So, here is the lamp I’d like to renew:
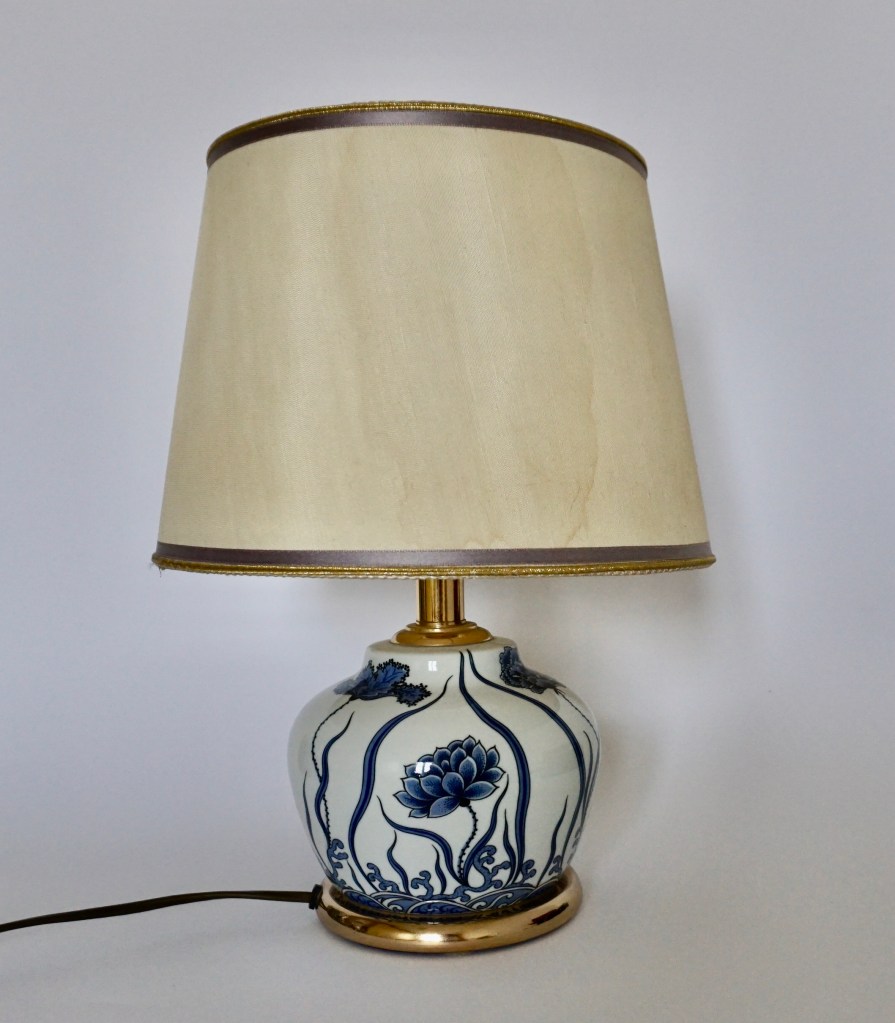
As you can notice, the upper part is old and stained. The rest of it isn’t so bad. The blue designs on the white porcelain reminds me of the traditional Chinese potteries. I don’t really cherish the golden parts but we have no choice, we’ll keep it this way. I need it to be recuperable when I’ll have to leave the apartment.
STEP 1:
I choose the kind of fabric or paper or other material adaptable to the upper part of the lamp (the abat-jour). We’ll keep the abat-jour, it’ll be a perfect support because it’s rigid.
*TIP: Choose a fabric matching the surrounding environment and style of your house. Also, keep in mind that the darker will be the fabric/paper you’ll place, the softer will be the light. If you want a bright light you should you a bright fabric/paper also.
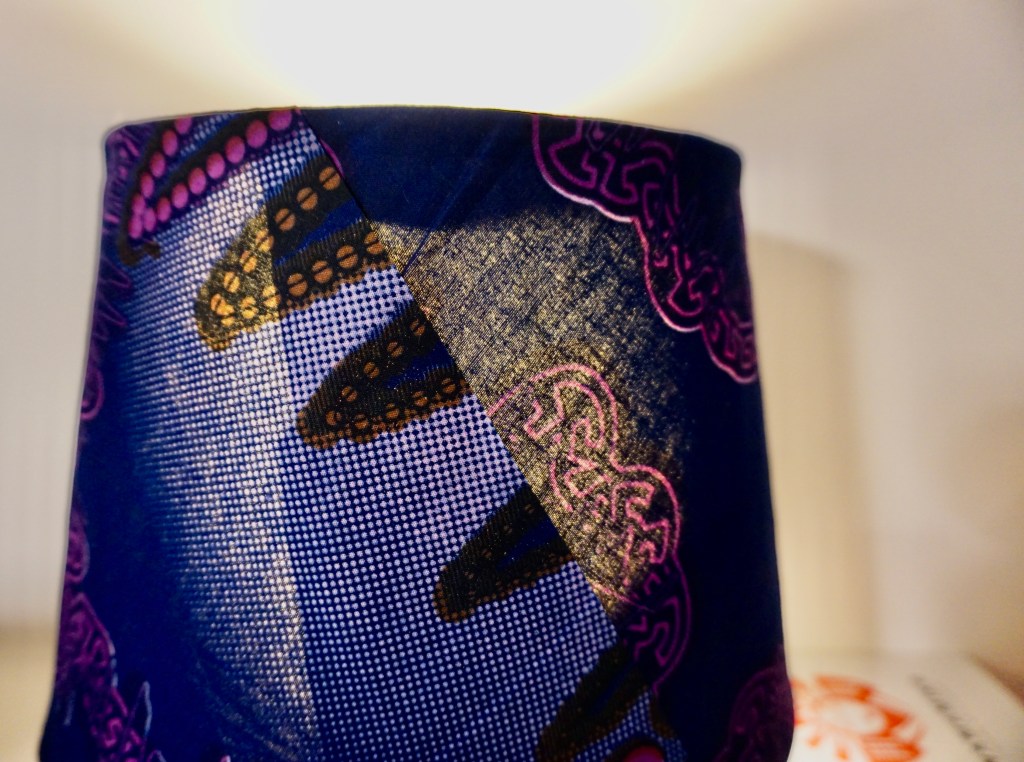
I’ve recuperated pieces remaining of the African fabric I’ve used for my IJUM bags. The only problem is that they don’t have the same size or shape, so as you can see, the juxtaposition is noticed but I’ve tried to keep a logical an aesthetic line. Ideally a simple fabric with no designs on it would be perfect but I don’t have any and anyway, my lamp will have it’s own style!

Step 2:
I’ve used extremely simple ways to fix the fabric, since I can’t make any holes on the original support. I didn’t use the stapler but if you can, it’d be the best way to fix the fabric. I really did this in 10′, so if I change my mind I can still take it out and try another fabric or even paper.
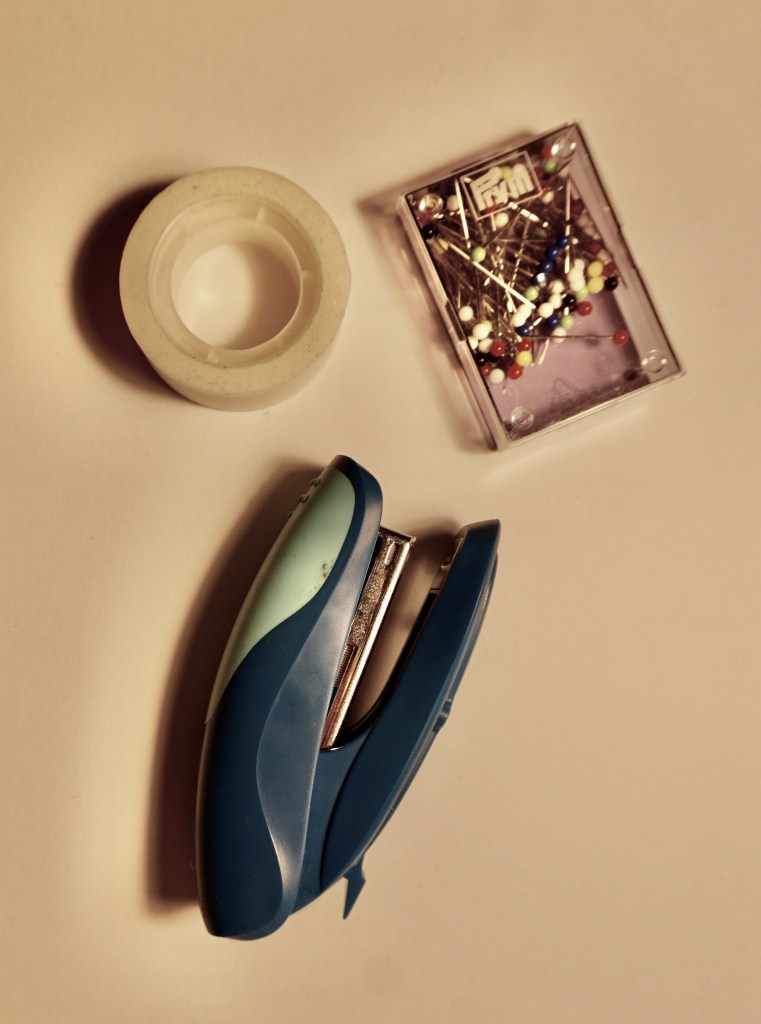


I adapted the fabric on the surface in a way that no folds are created and fixed it at certain points with an adhesive tape. This way, I’ve been able to move it either way to adapt on the round form of the support. Once fixed, you can put an adhesive all the way along the fabric.
Step 3:
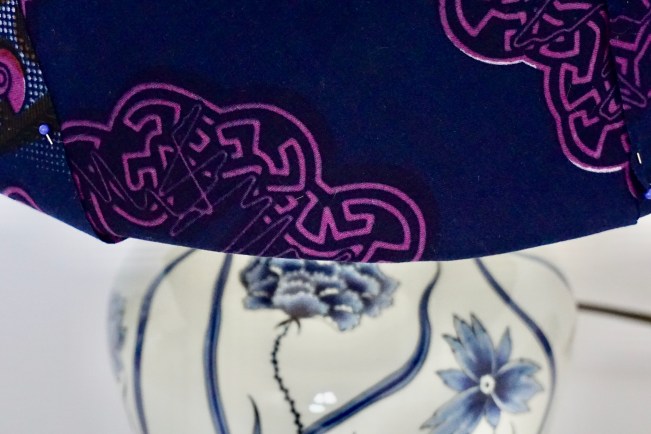
On the external part I’ve fixed the fabric with pins of the same colour.


If you are patient and you prefer you could also use a thread or a sewing machine for the fabric.
Result:

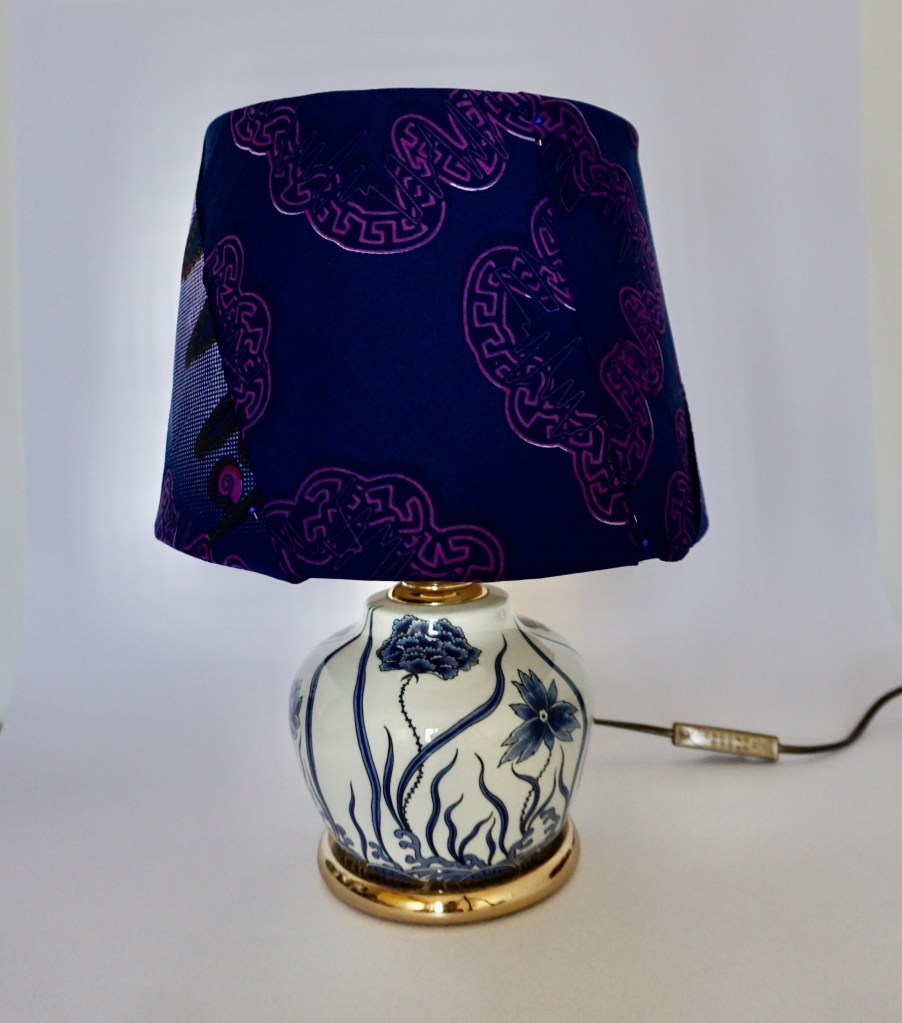


*TIP: Be careful at the shape of the fabric/paper when you light your lamp. They will appear in transparence and the juxtaposition will be clear.
So, this is a very ingenious way to change a lamp in your appartement and recuperate the lamp and the material on it. At the same time, you renew in a temporary and convenient way your interior.
Please let me know if you like this post, I can put other easy-to-make ideas online.
Thank you for reading!

You must be logged in to post a comment.